How to Clean Up Insulation Safely After a Project?
We begin safe insulation cleanup by identifying hazards. Moisture, mold, rodent contamination, and suspected vermiculite require professional assessment. For standard fiberglass, mineral wool, cellulose, or foam debris, we use proper PPE, contain the work area, collect materials carefully, and follow local disposal rules.
Key Takeaways
- We stop work and consult a qualified professional if insulation is wet, moldy, contaminated by rodents or sewage, or may contain asbestos.
- We wear gloves, long sleeves, eye protection, and a properly fitted particulate respirator to reduce skin, eye, and respiratory irritation.
- We limit dust spread by isolating the area and avoiding dry sweeping, compressed air, fans, and standard household vacuums.
- We place insulation scraps in durable, sealed bags. We use a HEPA vacuum and damp wipes on suitable surfaces to remove remaining dust.
- We repair leaks, ventilation issues, air leaks, and pest entry points before we install replacement insulation.
Start With Safety: When Not to Clean Up Insulation Ourselves
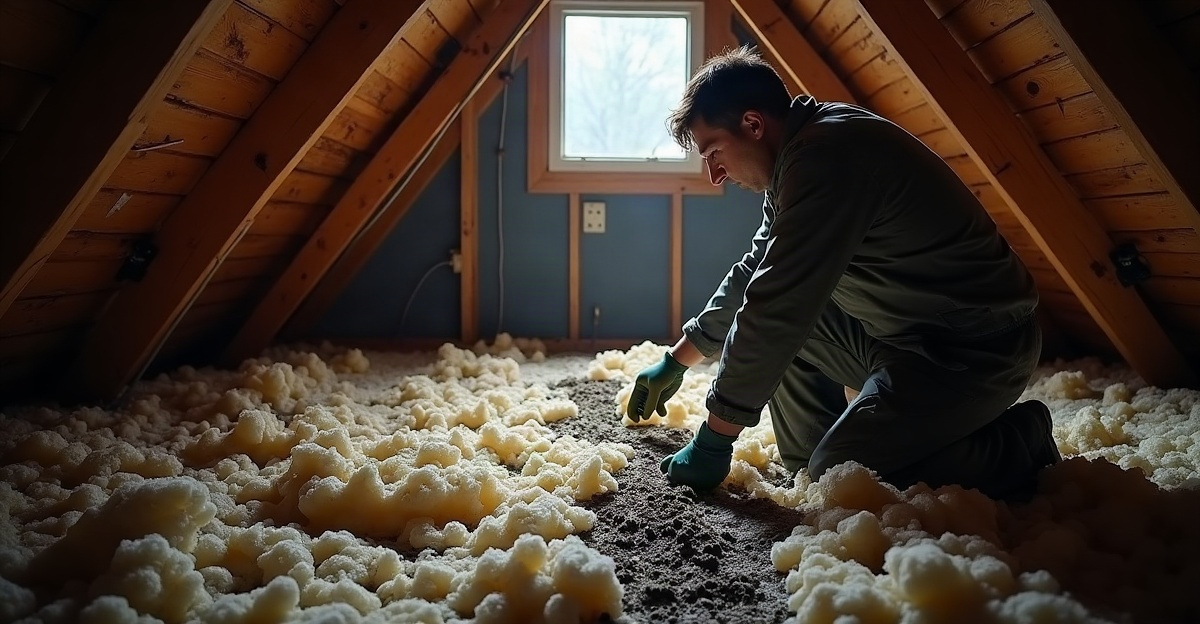
We should stop work immediately if insulation appears contaminated, wet, moldy, or unusually dusty. Standard cleanup methods can worsen a hazard by releasing fibers, spores, or contaminated particles into the air.
Do not disturb vermiculite insulation in an attic. Older homes may contain vermiculite attic insulation or other materials associated with asbestos contamination. We recommend qualified asbestos testing or remediation guidance before anyone handles, bags, or removes suspicious material.
Several conditions call for professional insulation cleanup rather than a basic project-site cleanup. These include visible mold, rodent droppings or nesting material, sewage exposure, extensive airborne dust, and difficult attic or crawl-space access. Rodent-contaminated insulation can carry urine and contaminated debris, while moldy insulation removal requires controlling both the affected material and the moisture source.
Wet attic insulation also deserves careful assessment. A roof leak, plumbing leak, condensation problem, or poor ventilation may be causing the damage. Drying material without correcting the cause can leave moisture trapped in the assembly. Saturated, mold-affected, or contaminated insulation often needs removal and replacement after repairs are complete.
For major debris, moisture damage, contamination, or projects that require replacement and air sealing, we recommend attic insulation removal Northern California homeowners can depend on. Professional handling helps limit dust spread and allows us to identify issues that can affect the next insulation installation.
Wear the Right PPE Before Handling Insulation Debris
Basic insulation cleanup is not risk-free, even after a small repair or installation project. Fiberglass and mineral wool fibers can irritate skin, eyes, and airways. Loose-fill materials can create fine dust that is easy to track through a home.
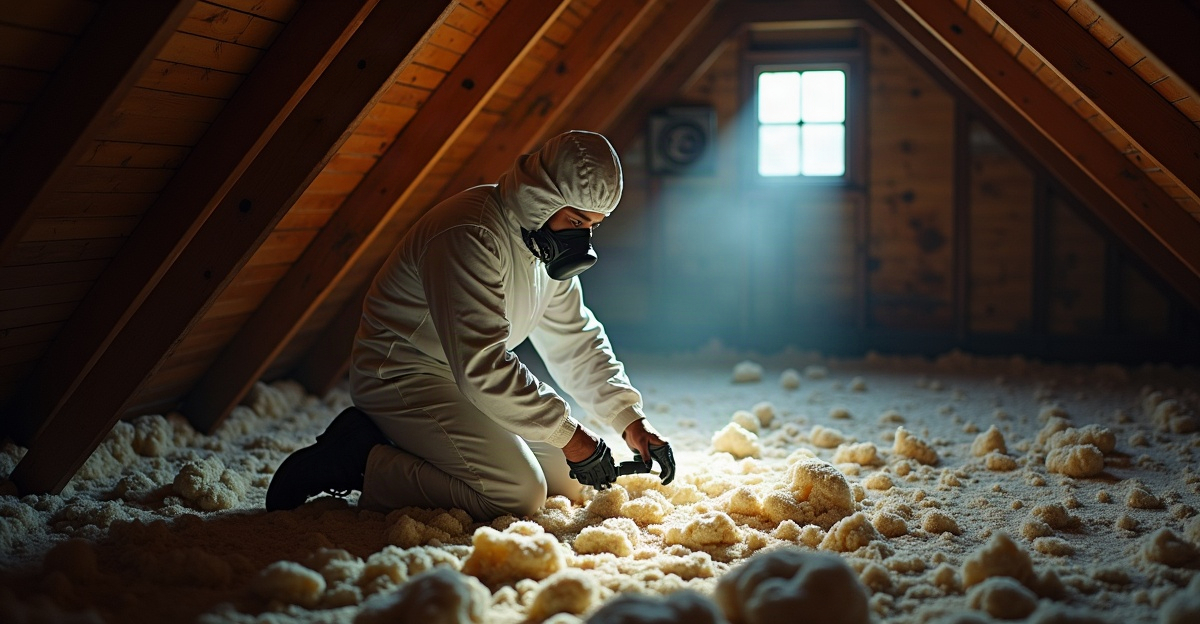
Before handling debris, we should wear insulation cleanup PPE that covers the skin and protects the eyes and lungs. Use gloves, long sleeves, long pants, and safety glasses. A properly fitted respirator rated for particulate dust is important whenever dust may become airborne.
Protective clothing for insulation removal should fit closely at the wrists, ankles, and collar. Loose clothing can catch on framing, nails, or attic obstructions. Disposable coveralls can be useful for dusty work, provided we remove them carefully before entering clean areas.
Keep children, pets, and unnecessary foot traffic out of the work zone until cleanup is complete. We should improve ventilation only where it can be done without moving fibers into occupied rooms. Avoid placing fans near debris, since fans can spread dust well beyond the project area.
Good fiberglass insulation safety starts with controlling exposure, not rushing through the task. Gloves and respirators help, but careful handling remains the best way to reduce irritation and cleanup time.
Contain Dust and Collect Debris Without Spreading It
We should isolate the work area before picking up insulation. Close nearby doors, cover openings where practical, and create a clear path to the disposal area. This limits insulation debris removal to one controlled zone instead of allowing fibers to travel through the house.
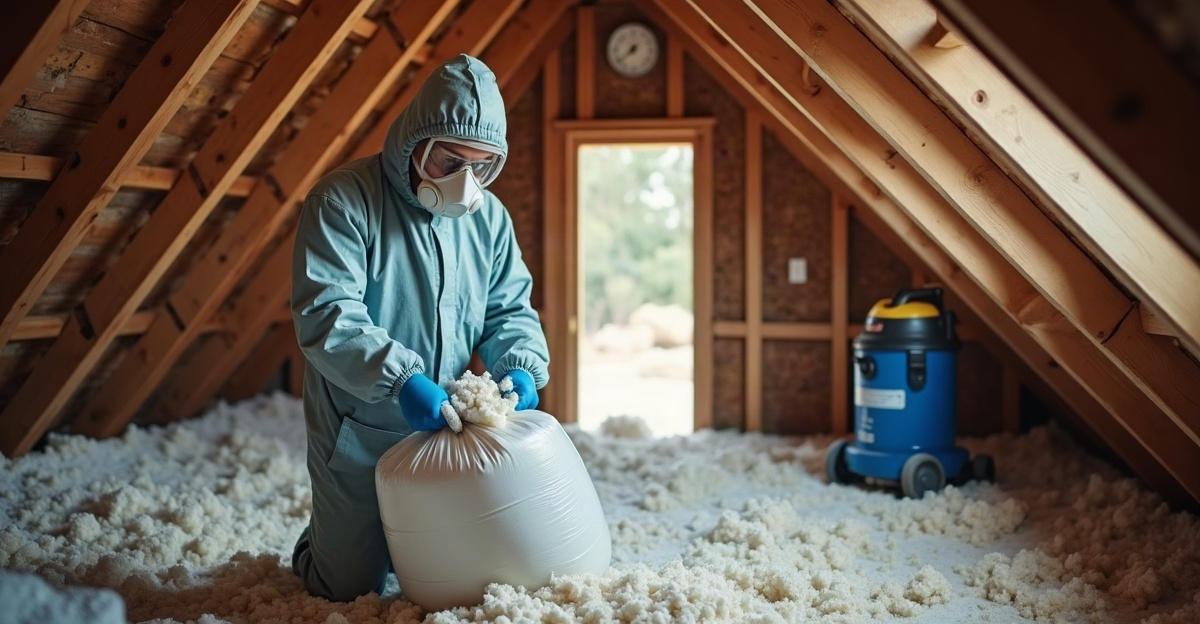
Pick up large scraps gently and place them directly into sturdy bags or containers. Do not compress loose material aggressively, since that can release dust. Keep bags close to the work area so scraps do not need to cross clean flooring.
Avoid dry sweeping insulation, using compressed air, or blowing debris with a leaf blower. Each of these methods sends fine particles back into the air. We also should not use a standard household vacuum for fiberglass dust or loose insulation debris, as it may exhaust fine particles back into the room.
For compatible surfaces, a HEPA vacuum for insulation dust can collect remaining fine debris more effectively. After vacuuming, damp wipe hard, moisture-safe surfaces such as flooring, shelving, or nonporous stored items. Use only enough moisture to capture dust; soaking wood, drywall, or other vulnerable materials can create a separate problem.
Before removing containment, inspect framing, ledges, floor surfaces, equipment, and stored belongings. Thorough insulation dust cleanup means checking the surrounding area, not just the pile of visible scraps.
Use the Right Cleanup Method for Each Insulation Type
Different insulation products leave different types of debris. Understanding what insulation is and how it performs helps us select a safer cleanup method instead of treating every material the same way.
Fiberglass, Loose-Fill, Cellulose, and Mineral Wool
To clean up fiberglass insulation, handle batts gently and bag scraps promptly. Avoid tearing or shaking material. Use HEPA vacuuming and damp wiping on compatible surrounding surfaces after the larger pieces are removed. Fiberglass insulation disposal should happen in sealed bags that prevent fibers from escaping during transport.
Loose-fill insulation cleanup requires extra dust control. Whether the material is loose-fill fiberglass or cellulose, collect it carefully without sweeping or blowing it around. A HEPA-filtered vacuum may be appropriate for limited debris on suitable surfaces, but large attic areas or contaminated cellulose insulation removal projects should be assessed professionally.
Mineral wool cleanup follows many of the same practices as fiberglass cleanup. Its fibers and dust can irritate the skin, eyes, and lungs. Full PPE, gentle handling, sealed bags, and controlled vacuuming reduce exposure.
Spray Foam, Foam Board, and Wet Materials
For spray foam cleanup, carefully collect cured offcuts by hand. Avoid aggressive sanding, grinding, or cutting that creates fine dust. Uncured foam, strong chemical odors, or questionable installation conditions may require manufacturer guidance or professional evaluation.
Foam board cleanup is generally straightforward. Gather offcuts and broken pieces by hand, bag them to prevent scattering, and remove fine particles from nearby compatible surfaces with HEPA vacuuming or damp wiping.
Wet insulation replacement is different from ordinary project cleanup. We should never simply dry and reinstall insulation that is saturated, mold-affected, or contaminated. Find and repair the water source first, then replace damaged material with the right product and installation approach.
Bag, Transport, and Dispose of Insulation Responsibly
Place insulation debris in durable bags and seal each bag securely. Do not overfill bags, since excess weight can cause tears during transport. Use containers where needed for sharp scraps, damp materials, or debris that could puncture plastic.
Keep contaminated insulation separate from ordinary construction scraps. When contacting a facility, clearly explain the material type and its condition. Insulation removal disposal rules can vary by city, county, landfill, material type, and contamination level.
For insulation disposal, Northern California property owners should check local waste-management requirements before loading a vehicle. This step helps avoid rejected loads, added disposal fees, and unsafe handling at the site. Standard household trash may not be appropriate for every insulation product or project condition.
Never place suspected asbestos-containing material, vermiculite insulation, mold-contaminated insulation, or rodent-contaminated insulation in the trash without confirming local requirements and obtaining professional guidance. The same caution applies to sewage-affected materials.
Planning attic insulation disposal before work starts keeps the project safer and more efficient. Responsible construction waste disposal begins with secure packaging and ends with using the correct approved facility.
Finish With Personal Cleanup and Fix the Underlying Problem
Remove protective clothing slowly and away from clean living spaces. Avoid pulling dusty clothing over the face or shaking it indoors. Place disposable gear in a sealed bag, and clean reusable PPE according to the manufacturer’s instructions. Replace damaged gloves, respirators, and other protective items.
To wash fiberglass insulation out of clothes, launder exposed work clothing separately from other laundry. Shower after fiberglass work to remove fibers from skin and hair. For fiberglass itch cleanup, rinse irritated skin with cool water rather than rubbing, which can drive fibers further into the skin.
Reinspect the project area and nearby rooms after cleanup. Check for loose debris, settled dust, or signs that contamination moved beyond the contained zone. If persistent dust remains, consider professional assessment instead of repeatedly disturbing the area.
We should also correct what caused the insulation damage or removal. Roof leaks, plumbing leaks, condensation, inadequate ventilation, air leaks, and pest entry points can all shorten the life of new insulation. Air sealing after insulation work can reduce drafts and limit moisture-laden air movement into attics and wall cavities.
Attic moisture control may require repairs, ventilation improvements, or changes to air movement through the home. Where pests caused damage, rodent proofing services should be completed before insulation replacement. Addressing these conditions first protects the new installation and supports a cleaner, more durable result.